
How to add a border to an image
Any image in a template can have a border: a product image, a logo or an image from your product data. The border follows the image's rounded corners and shows the same way in the editor and in every generated image.
Add a border
- Select the image on the canvas or in the layers panel.
- Open the Style tab and scroll down to Stroke.
- Tick the checkbox. A new border starts out black and 4 pixels wide.
- Pick a Color and set the Width in pixels.
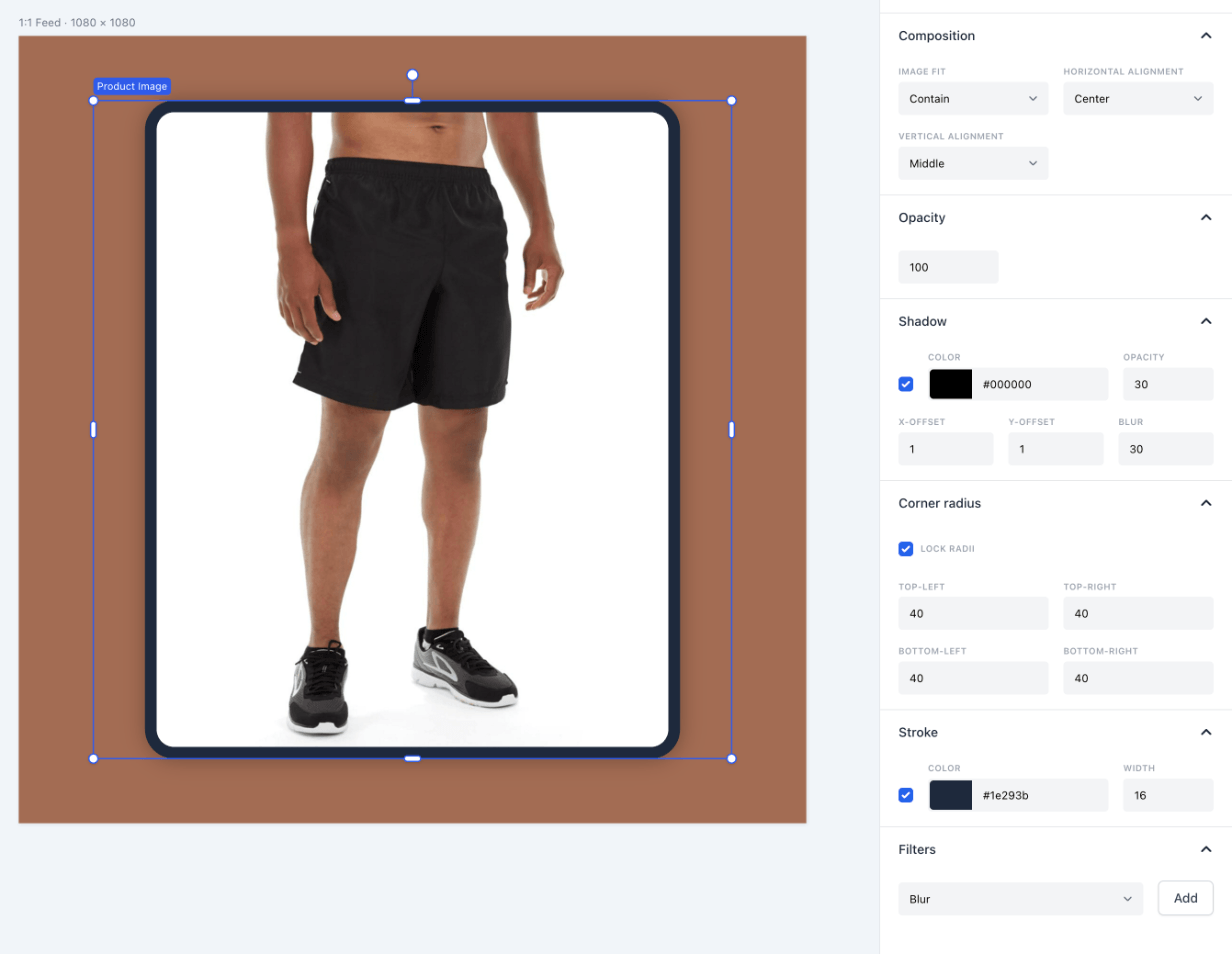
The color picker also offers colors taken from each product's own image, so the border can match every product it shows.
To remove the border, untick the checkbox. Feedr keeps the color and width, so the border comes back as it was when you tick it again.
How the border fits around the image
The border sits inside the image element, like a picture frame. The image shrinks to make room for it, so the border never covers any part of the picture.
- Image fit. The border wraps the picture as it is shown. With Contain, it hugs the image itself, not the empty space around it. With Cover and Fill, the picture fills the element, so the border runs along the element's edges.
- Corner radius. The radius rounds the outside of the border, and the picture's corners follow it on the inside.
Images without a background
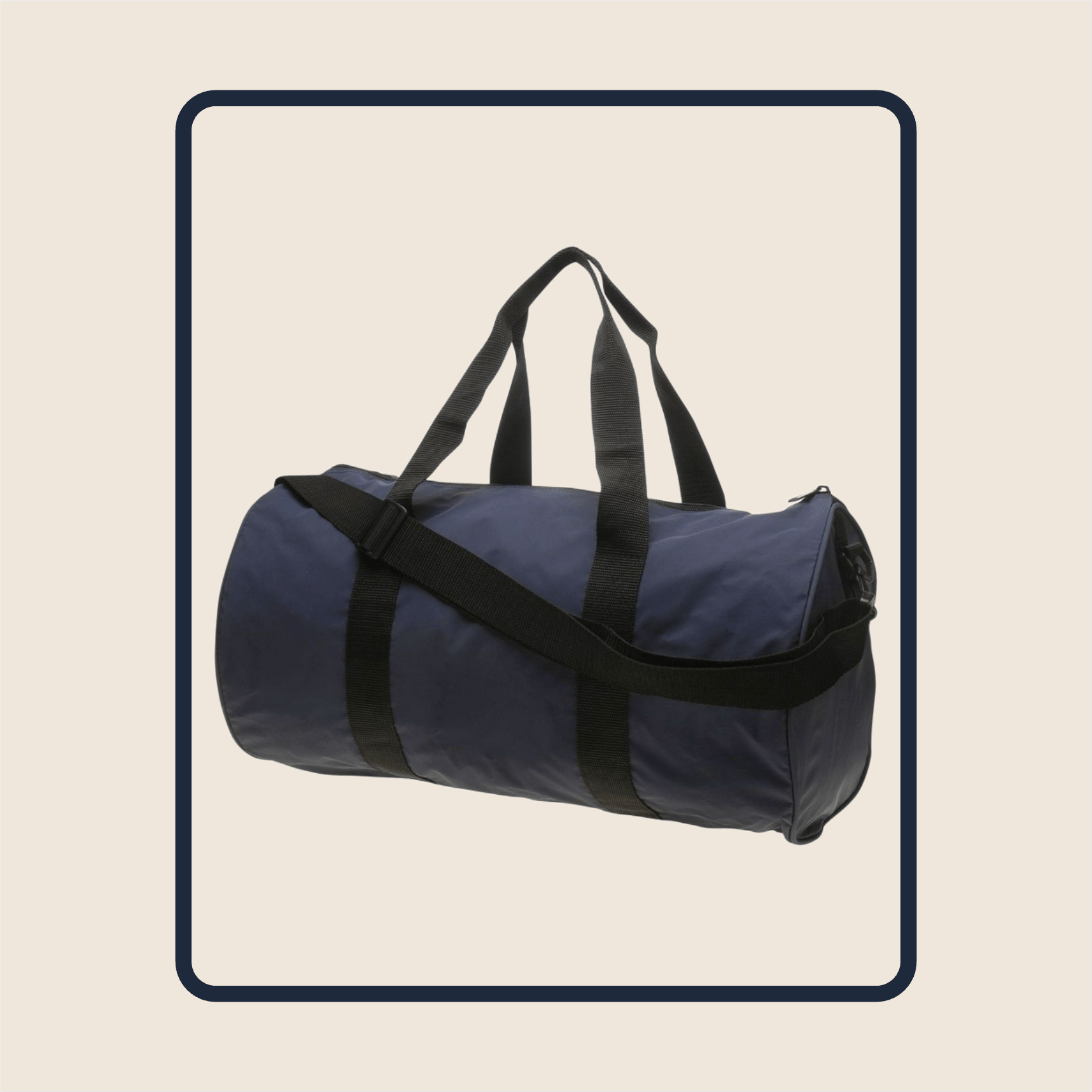
When you show an image with its background removed, the border frames the image's box, not the outline of the product.
Filters and shadows
- Filters change the picture only. A blurred or grayscale image keeps the border in the color you picked.
- Shadow. The image and its border cast one shadow together.
If an image can't be shown for a product, for example because the product has no image at that position, its border isn't shown either.