
Appearance
How to align elements in templates
The template editor helps you line elements up in two ways: guides that appear while you drag, and align and distribute buttons in the attributes panel.
Smart guides
Drag an element and it snaps to the edges and centers of the other elements on the canvas, not just to the canvas edges and center cross. A dashed magenta line shows you what it snapped to.
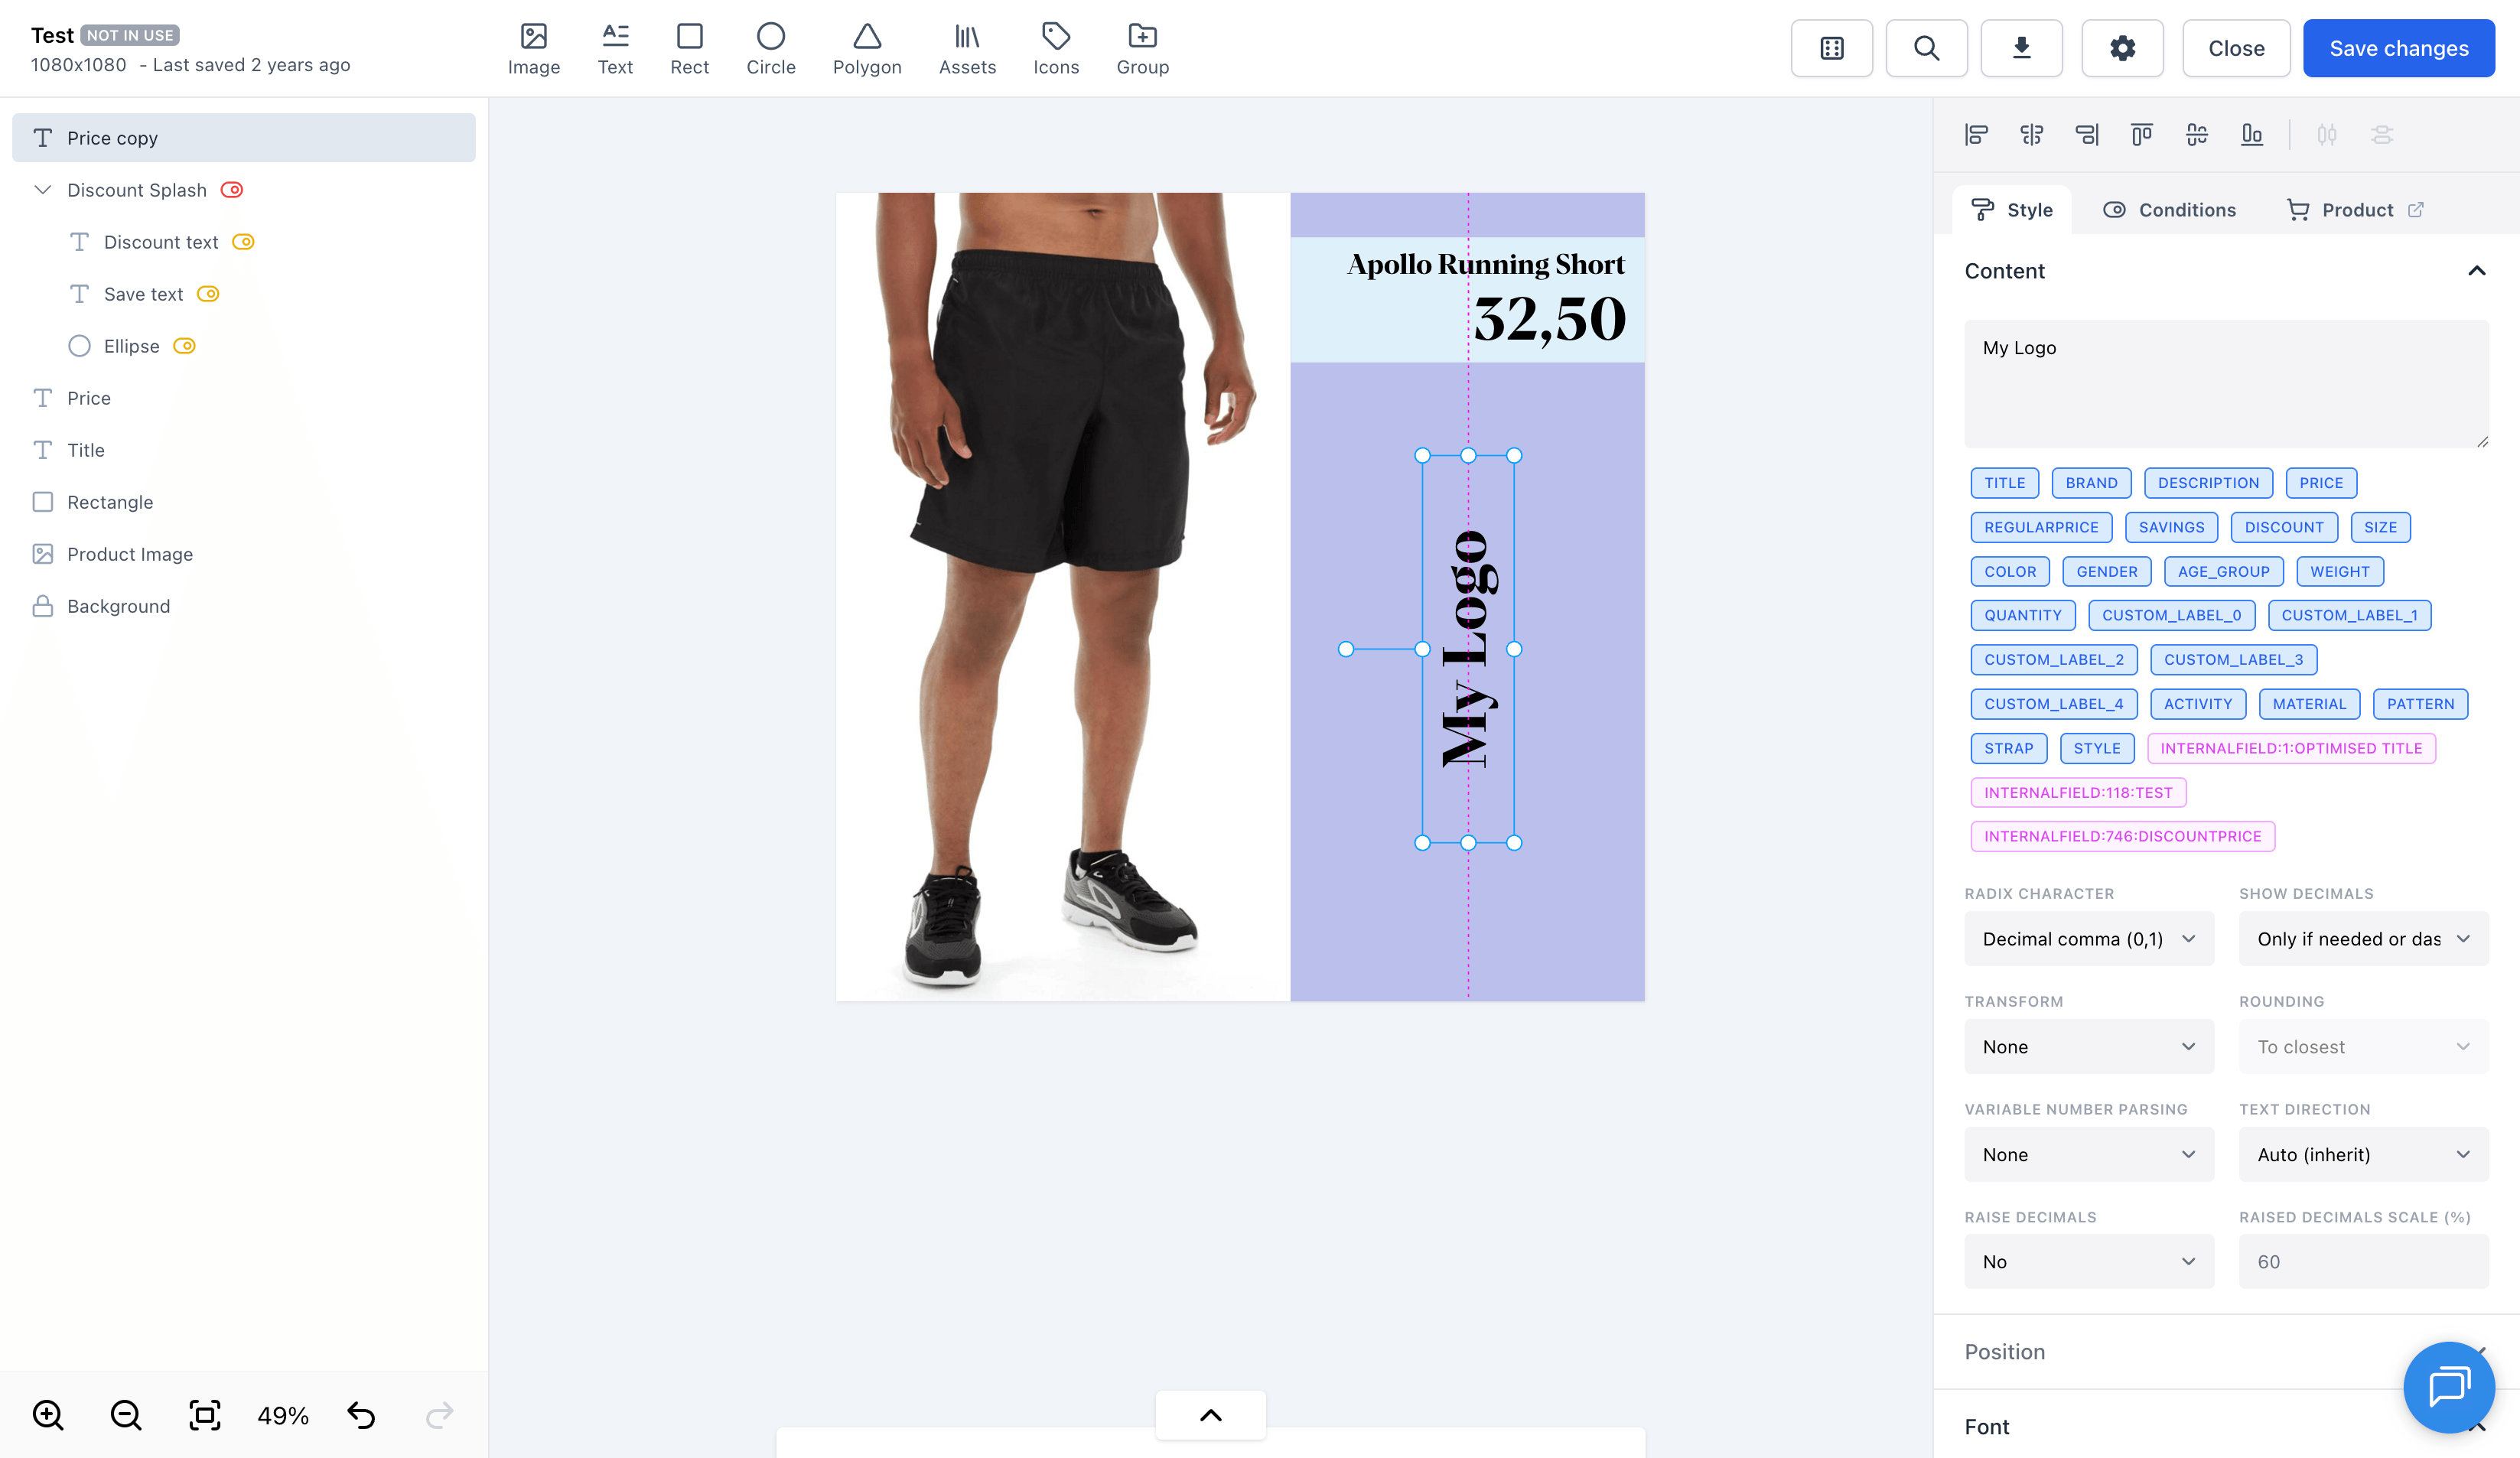
Left, center and right edges snap horizontally, and top, middle and bottom snap vertically. Resizing works the same way: drag a resize handle and the handle snaps to the same stops.
A few details worth knowing:
- Only visible elements are snap targets. An element hidden by a failing display condition is ignored, so you never snap to something that will not be in the render.
- Elements inside a group are targeted individually. The group itself is not a target.
- If a canvas stop and an element stop are equally close, the canvas wins.
Snapping follows the "Snapping grid" setting in canvas settings. Turn that off and both element snapping and canvas snapping stop.
Align and distribute
Select two or more elements and the alignment strip appears in the attributes panel. The six align buttons line the selection up to its own bounding box: left, horizontal centers, right, top, vertical centers, bottom.
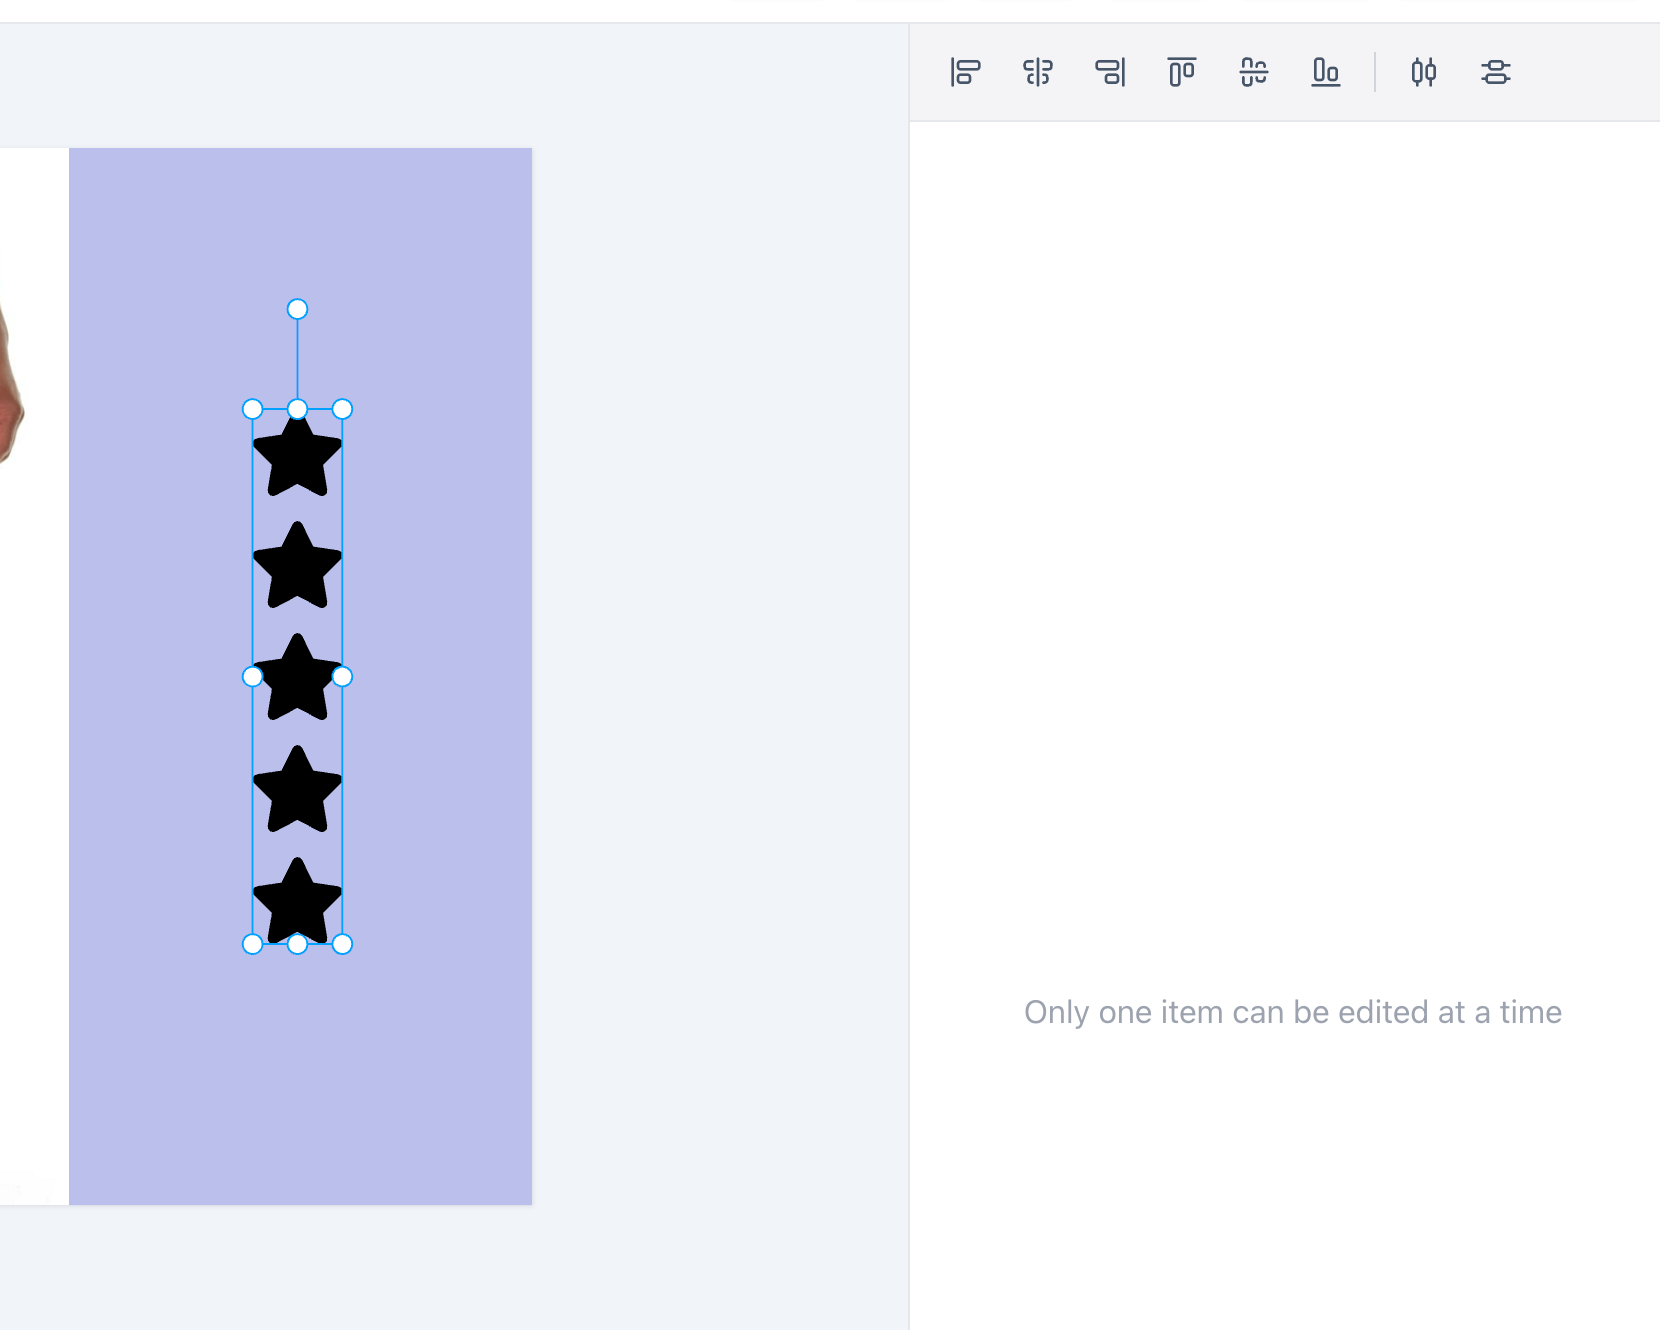
With exactly one element selected, the same six buttons align that element to the canvas. This is the quickest way to center something.
Select three or more elements and the two distribute buttons become active. Distribute horizontally and distribute vertically keep the outermost elements where they are and even out the gaps between everything in between.
Alignment uses each element's rotated bounding box, excluding stroke and shadow, so a rotated element aligns by the same box the selection handles show you.
Undo
Each align or distribute action is a single undo step. Press Cmd/Ctrl + Z once and every element moves back.