Editor
The template editor is a full drag-and-drop photo editor. You can add, remove, and rearrange layers of the image. You can also edit the properties of each element, such as the text, color, and size.
Adding Elements

In the top toolbar you can see the available elements, simply click on an element to add it to the canvas.
The available elements are:
- Square
- Circle
- Text
- Polygon
- Image
- Uploaded Image
- Dynamic Product Image
Editing Elements
To edit an element simply click on it on the canvas or in the layers panel. This will bring up the attributes panel on the right side of the screen. In this panel you can edit the properties of the element. The properties available will depend on the type of element you have selected.
Moving and Resizing Elements
To move an element simply click and drag it on the canvas. To resize an element click and drag the resize handles on the corners of the element. If you want to resize the element without changing the aspect ratio hold the shift key while dragging the resize handles. If you want to resize it from the center hold the
option (macOS) or alt (Windows) key while dragging the resize handles.
Topbar Controls
In the top right corner of the canvas you can see buttons to do various things.

- Exit the editor and return to the dashboard.
- Select random product
- Search for product
- Download the image
- Save the template
If you save an active template, it will update the images for all products using this template.
Left Sidebar

In the left sidebar you will find 4 buttons:
- Layers - This will open the layers panel where you can see all the elements on the canvas. You can also click on an element in the layers panel to select it on the canvas.
- Icons - This allows you to add icons to the canvas. You can search for icons and then drag them onto the canvas.
- Assets - This allows you to add assets to the canvas. Assets is pre-made elements that you can use in your designs. You can search for assets and then drag them onto the canvas. Every image that you upload to the editor will be saved as an asset.
- Settings - This allows you to change the settings for the template. You can change the size of the canvas and the name of the template. It's also here that you delete the template as well as see the keyboard shortcuts.
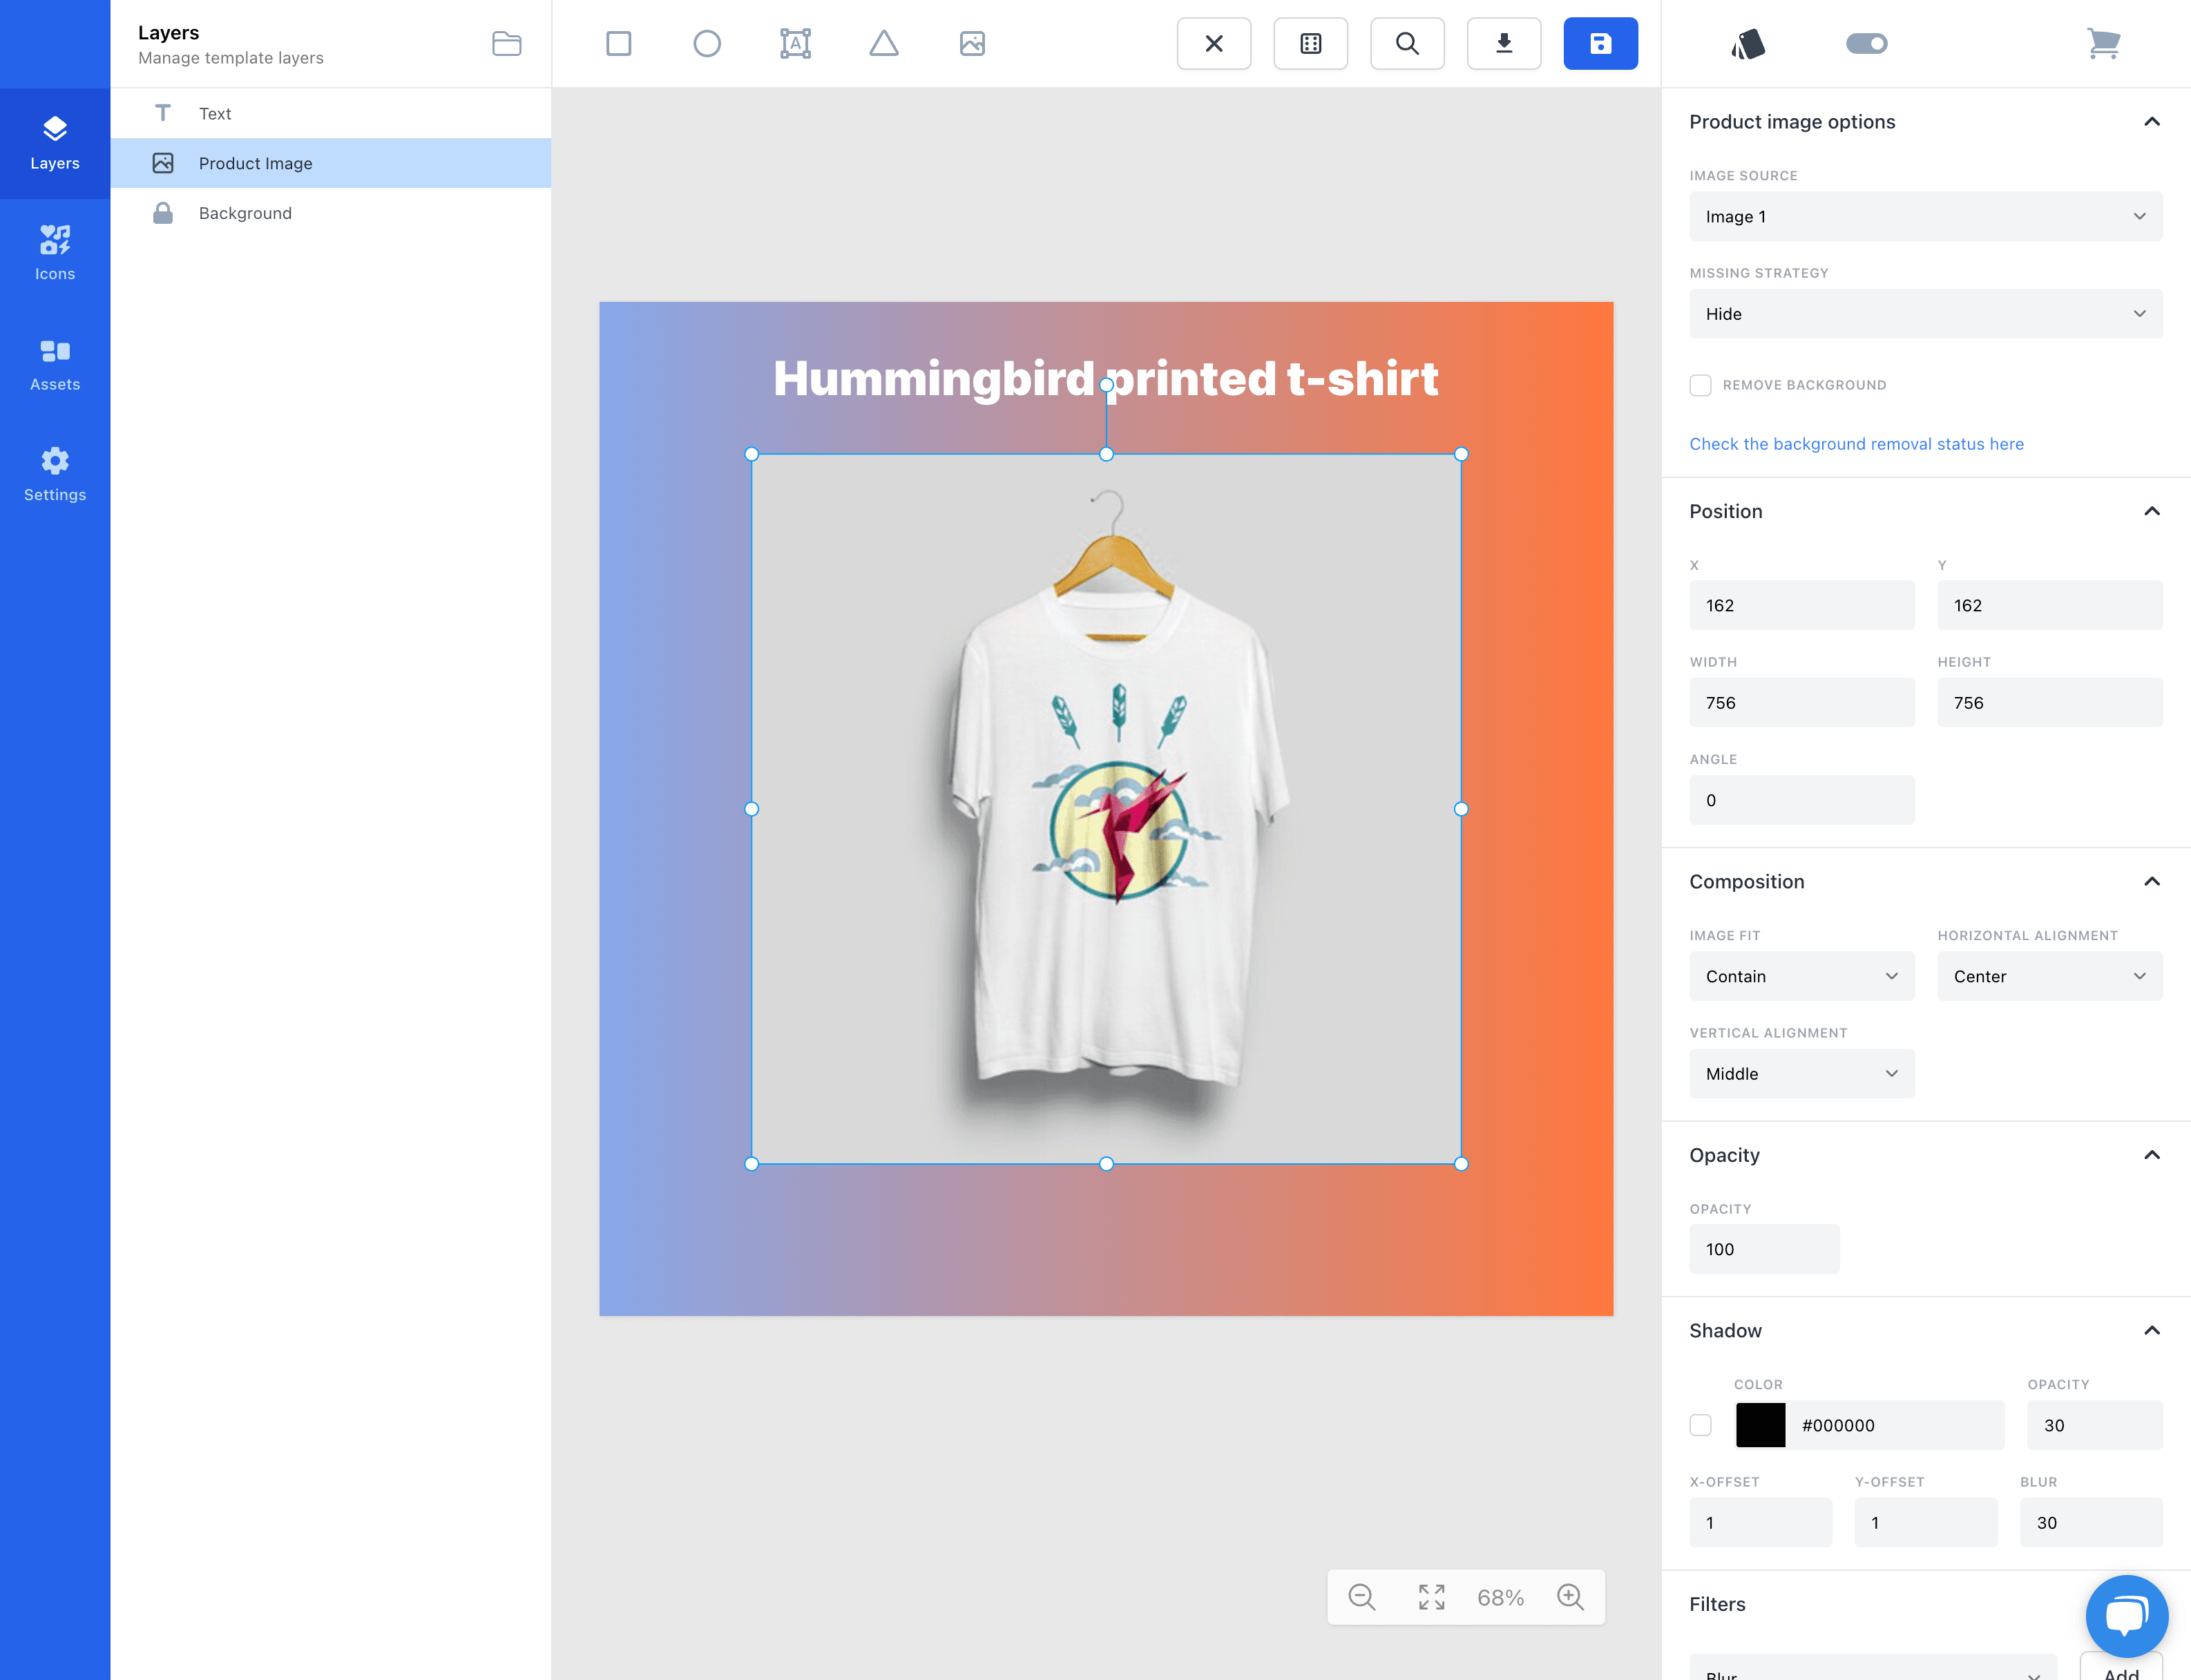
Properties Panel

In the top right, next to the save button, you can see the navigation buttons for the properties panel.
- Properties - This is the default view of the properties panel. Here you can edit the properties of the selected element. The properties available will depend on the type of element you have selected.
- Conditions - Here you can set conditions for the selected element. For example, you can set a condition that the element should only be visible if the product has a certain tag. Read more about conditions here.
- View product - This will open a new tab with the product page for the selected product.
In the properties panel you can edit the properties of the selected element. The properties available will depend on the type of element you have selected.
Zoom Controls
In the bottom right corner of the canvas you can see buttons to zoom in and out of the canvas.

There are also buttons to "fit the screen" and if you click on the button that is displaying the current zoom level it will return to 100%. It's of course also possible to zoom in and out using the scroll wheel on your mouse.